
1.0
Register
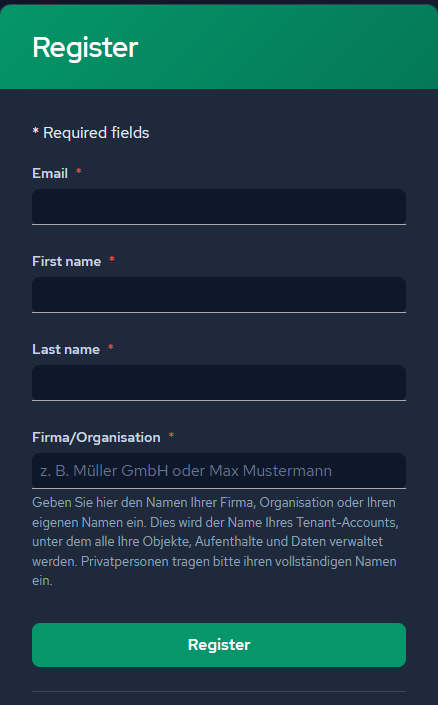
After booking, the account is created. Email, name and organisation are enough to get started.
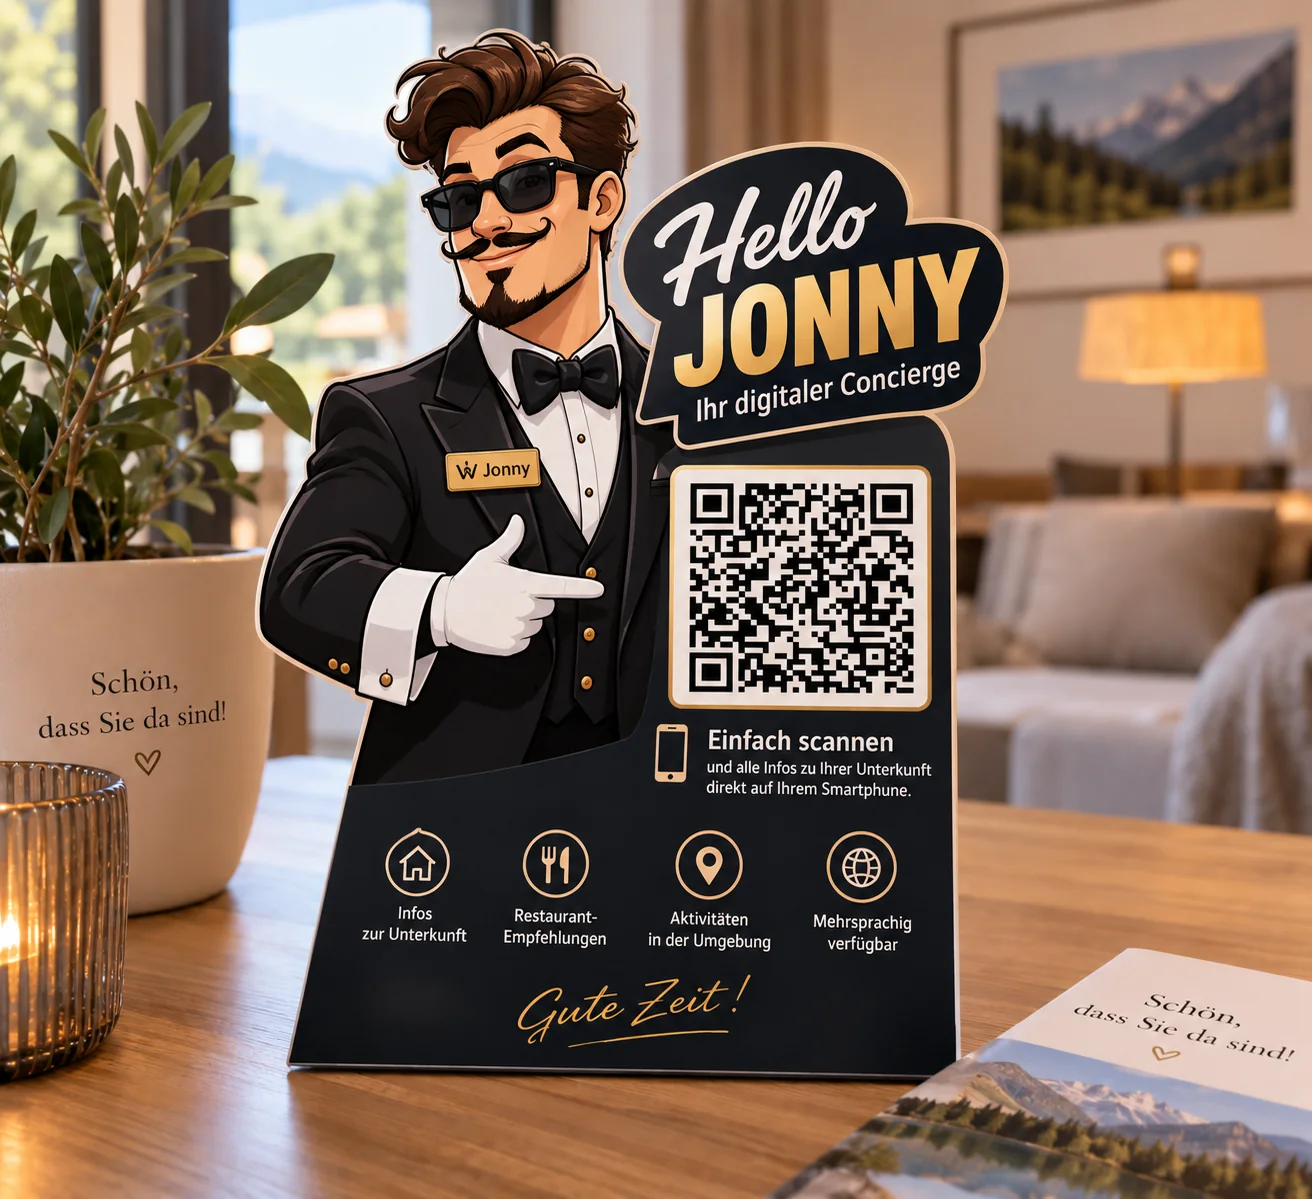
HelloJonny is designed so you do not have to start an IT project. Create an account, add a property, configure the content and place the QR code where guests can see it – then they can start asking.
After booking, the backend guides you step by step to your first ready-to-use concierge. No technical setup: create the account, add the first property and start configuring Jonny.
After booking, the account is created. Email, name and organisation are enough to get started.
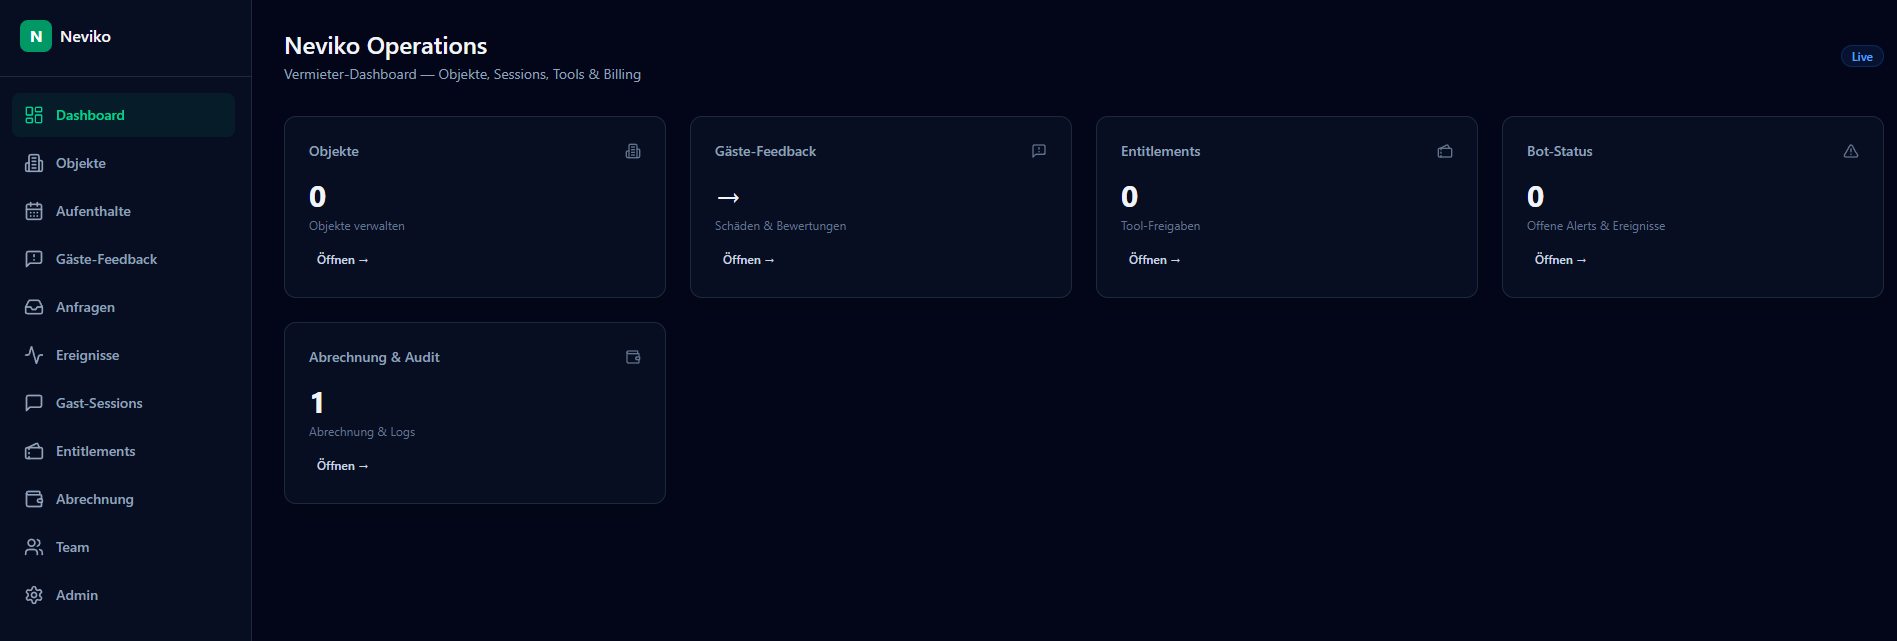
After signing in, the host lands in the central dashboard. Properties, stays, requests and functions are managed from here.
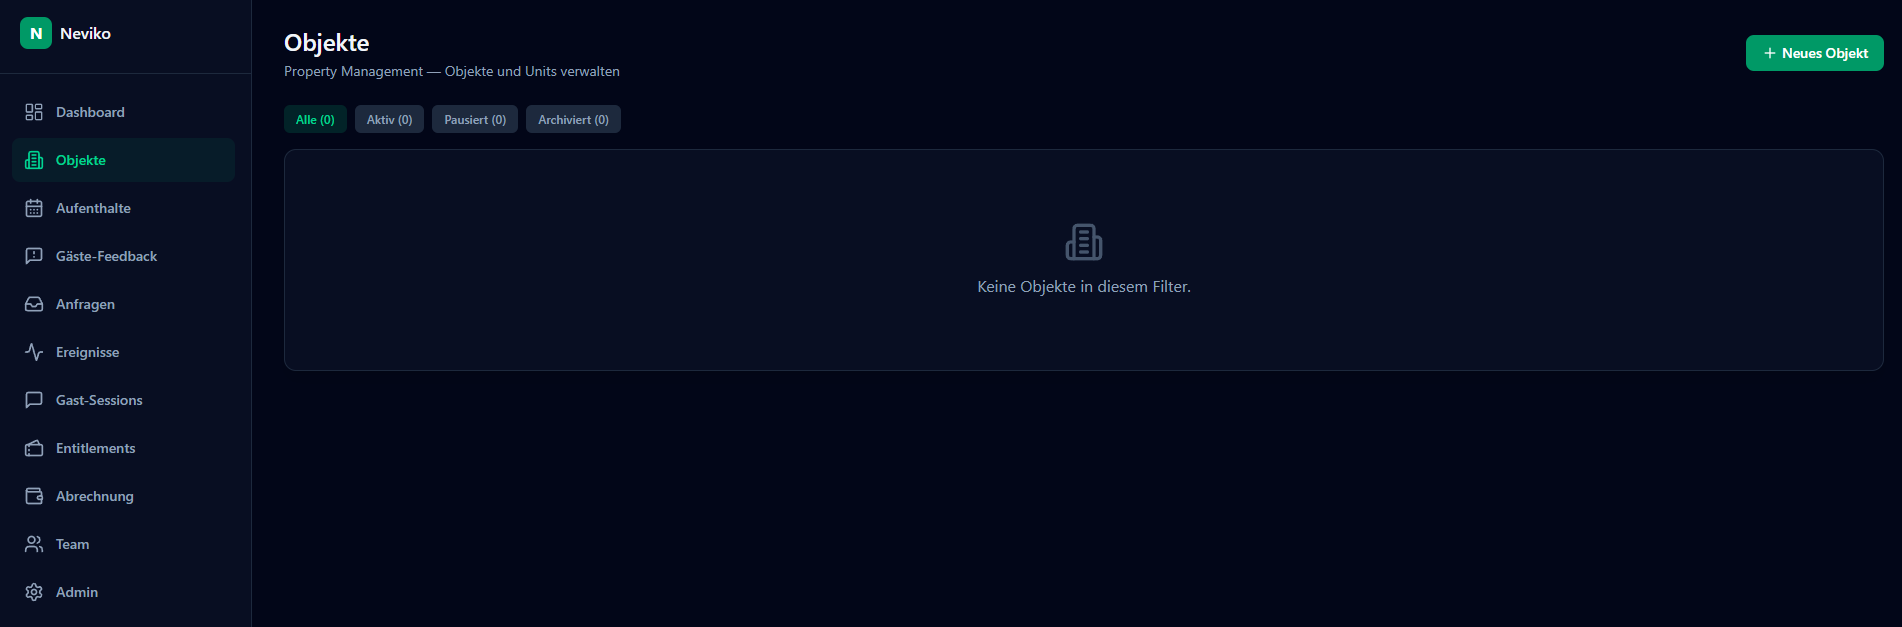
The property view is intentionally empty the first time. “New property” starts the setup of the first concierge.
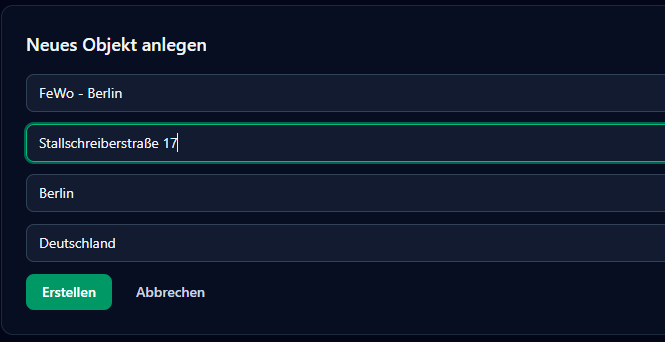
Name, address, city and country form the foundation. The property becomes the central unit for knowledge, sessions and functions.
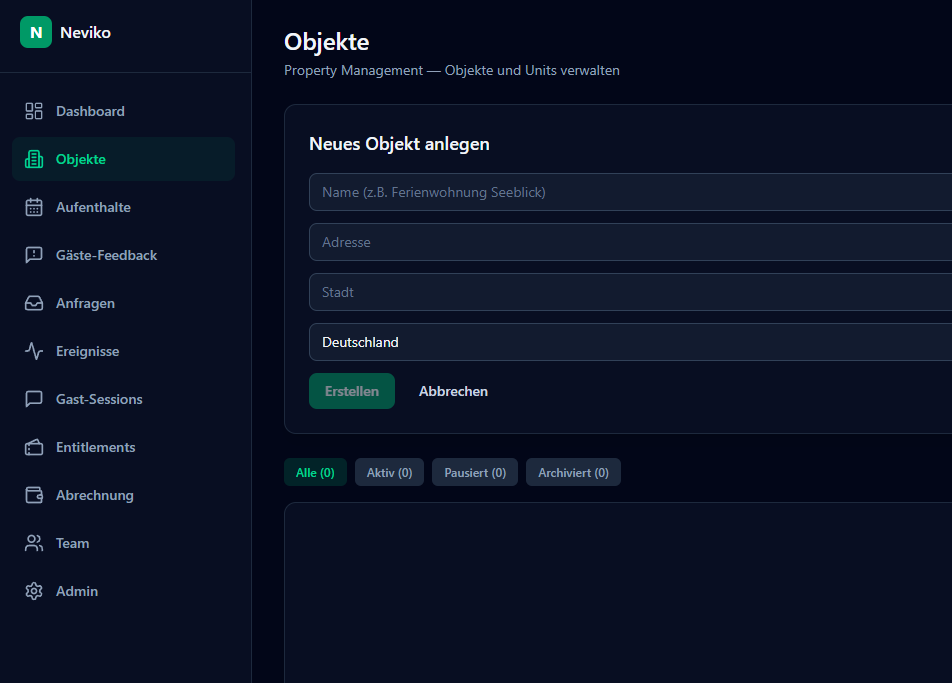
The setup stays intentionally compact. Only a few essential fields are needed to create the property.
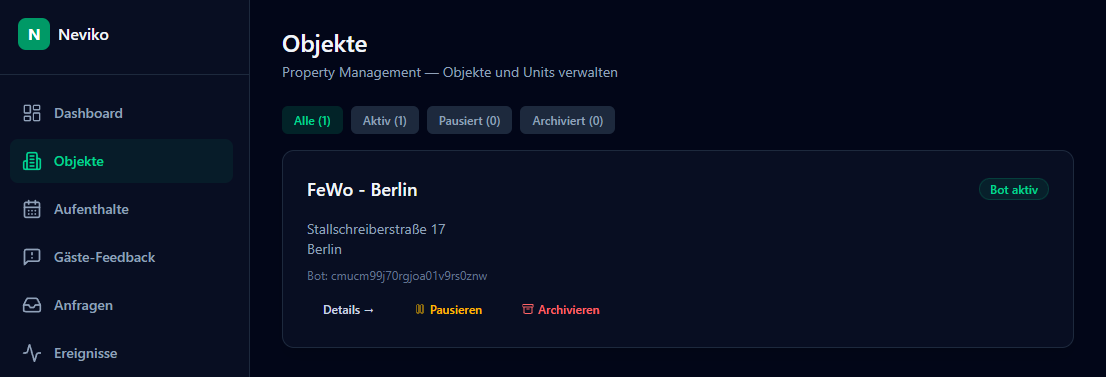
Once created, the property appears immediately in the overview. Status and key actions are visible at a glance.
Inside the property you can see bot status, synchronisation and activity. This is where the concierge is configured further.
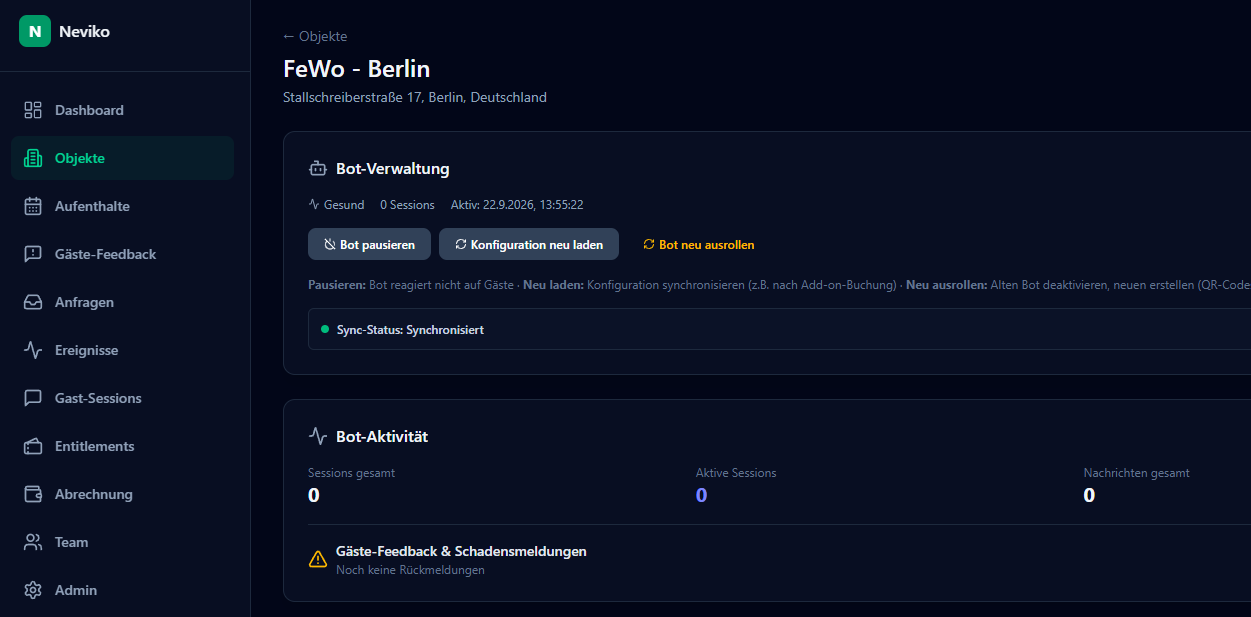
Now Jonny gets the context of your accommodation: notifications, QR access, personality, knowledge, recommendations and – when needed – units and stays.
Sessions, messages and feedback can be tracked per property so you can see how the concierge is being used.

Email, Telegram, Slack or webhooks can be used for relevant events. Thresholds and escalations can also be configured.
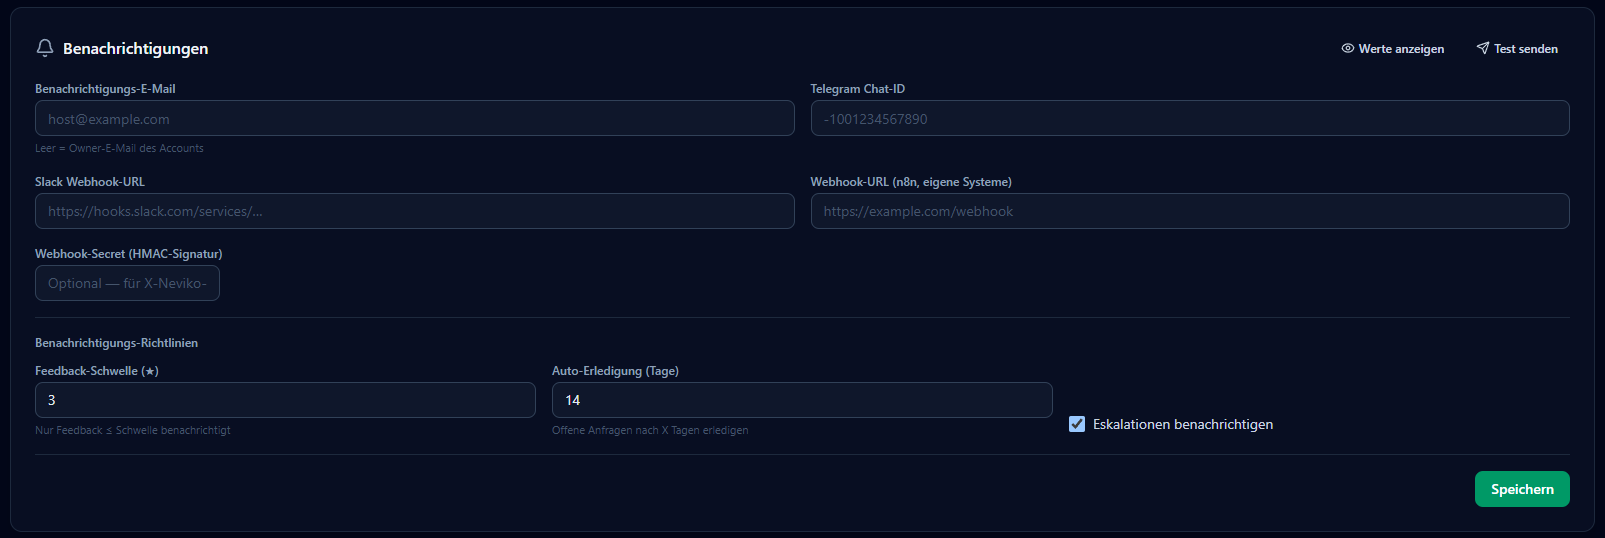
For houses, apartments or hotels, units and stays can be managed directly on the property.

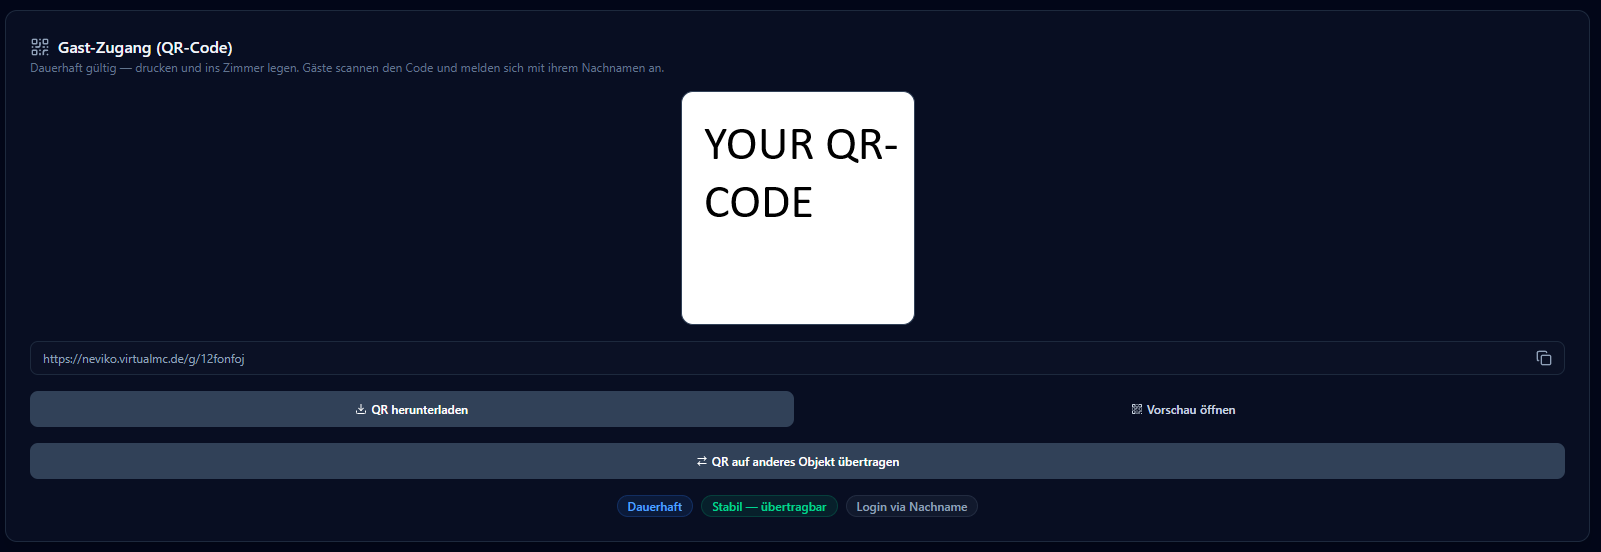
Guest access receives a permanent QR code. It can be downloaded, printed on the display or moved to another property if required.
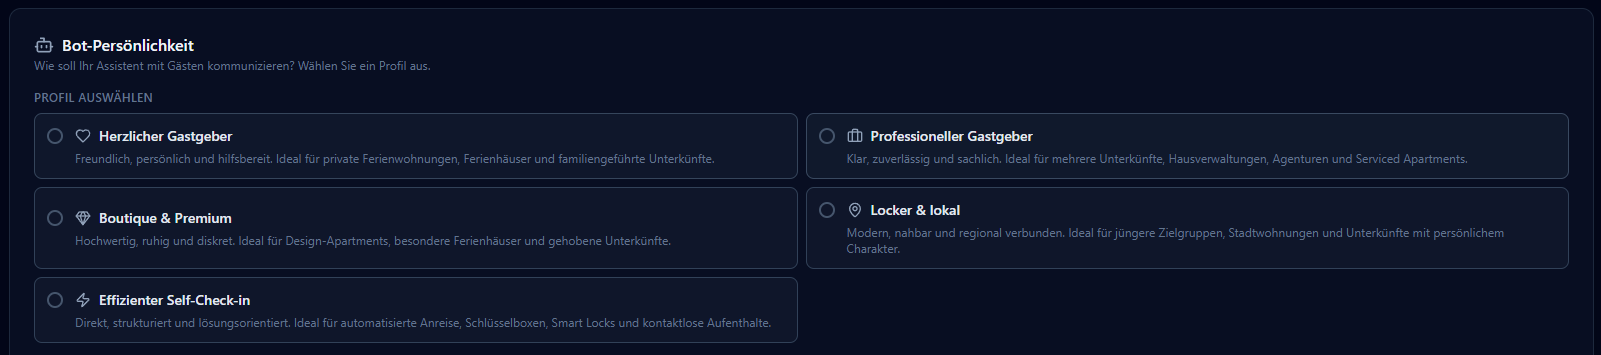
The concierge can match the character of your property – warm, professional, premium, local or highly efficient.
House rules, Wi-Fi, check-in, local recommendations and other information are collected in one place.
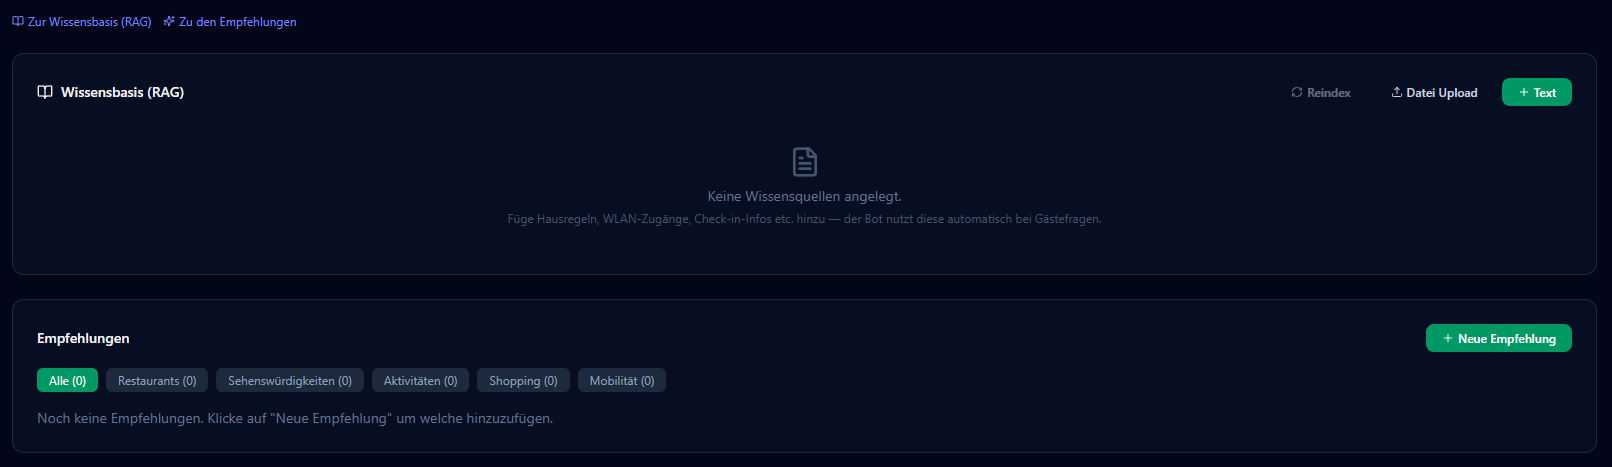
In addition to file uploads, information can be entered directly as text – for example an important house rule.
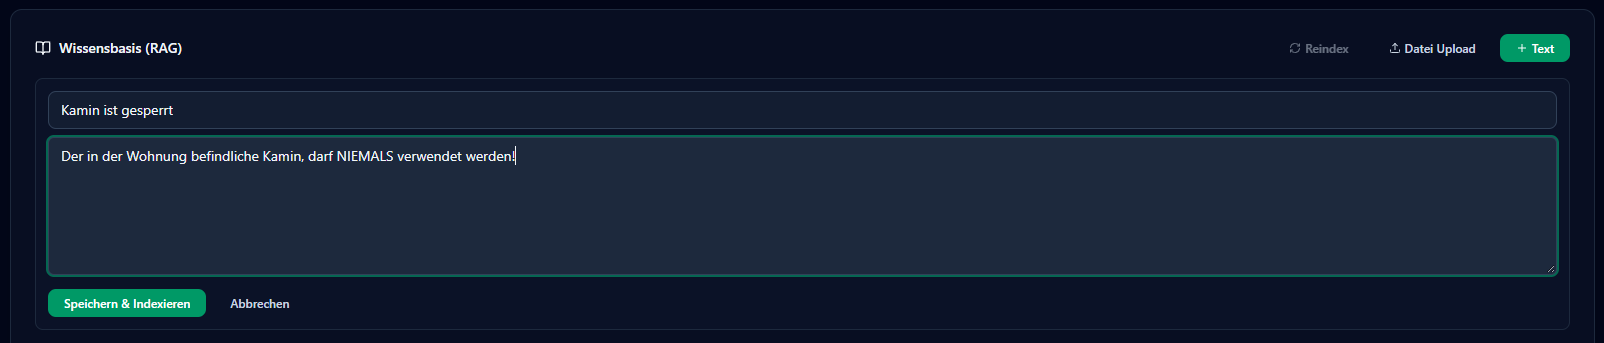
After saving, the entry is indexed and becomes available to the concierge for guest questions.

During daily operations, stays, units, enabled features and incoming concierge requests are managed directly in the backend. This keeps the entire guest journey visible in one place.
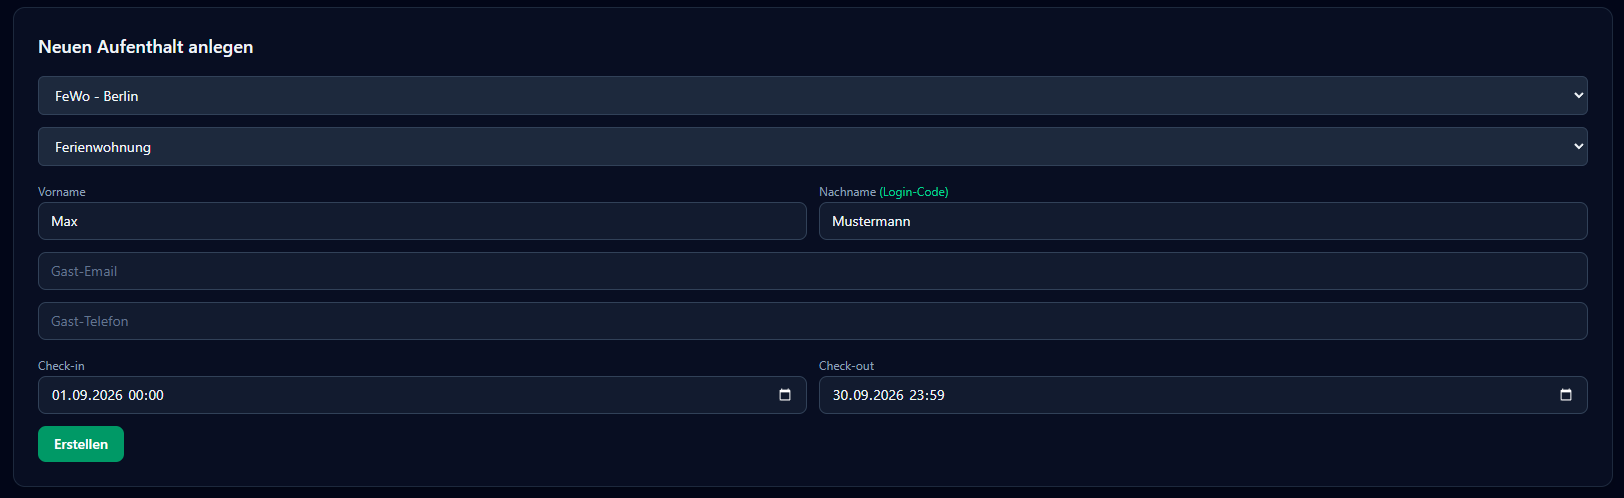
A stay links the property or unit with the guest and defines check-in and check-out. The surname can be used as the login code.
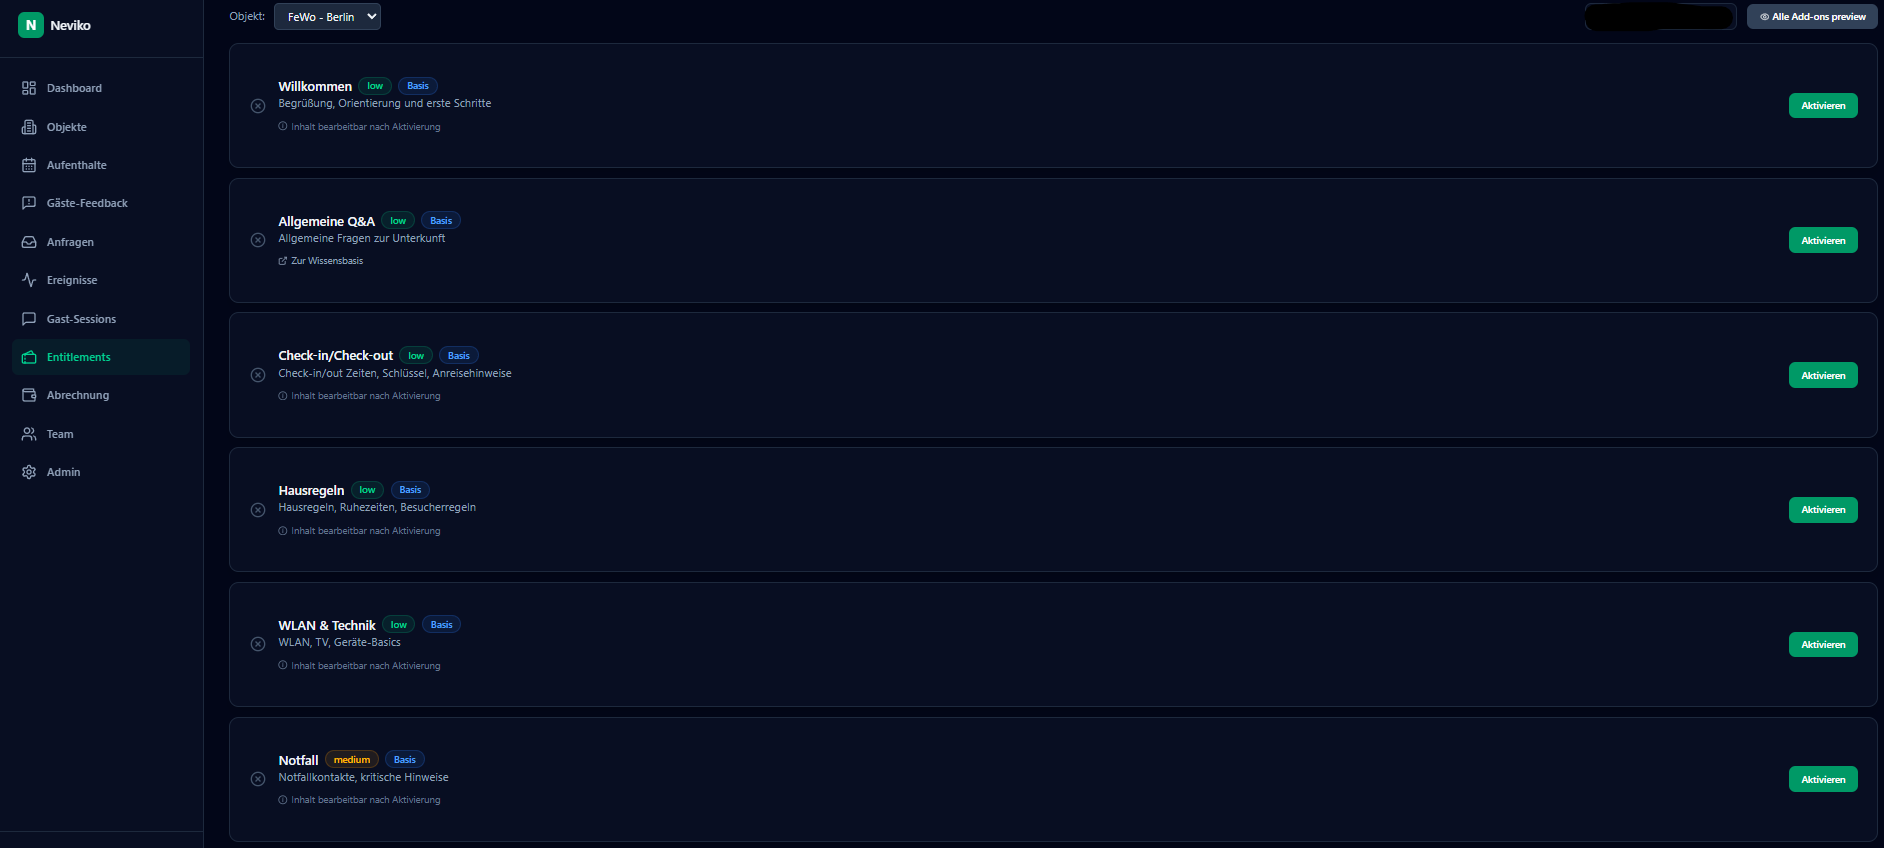
Entitlements define which functions are available for the property. This keeps the feature set controlled per plan and property.
Once a function is active, its related content can be maintained directly.
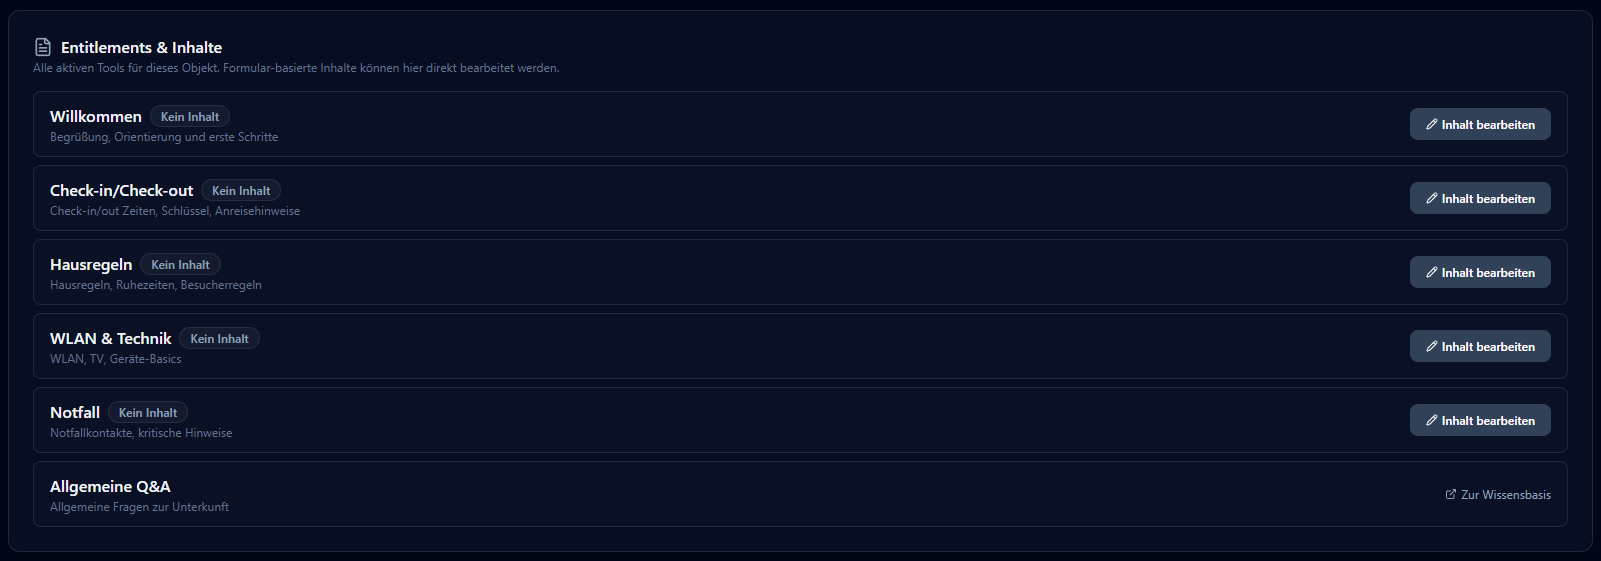
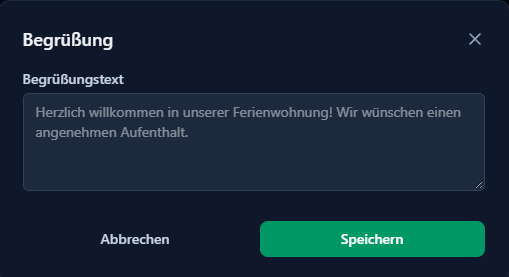
Form-based content can be edited directly in the backend – for example the welcome text.
The stay overview shows upcoming, active, completed and cancelled stays. New stays can be assigned directly to a property or unit.

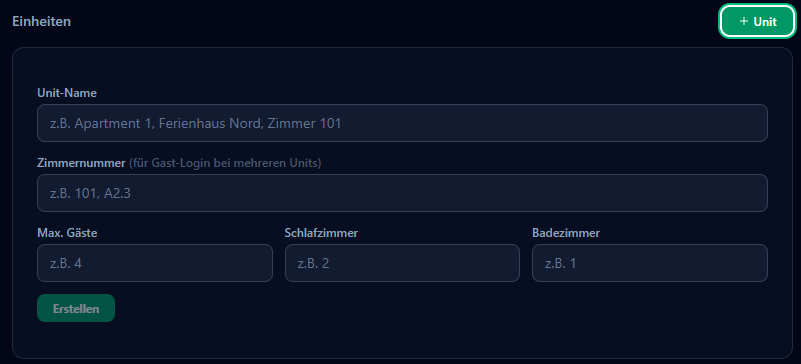
For hotels, apartments or properties with multiple units, add a unit with name, room number, guest capacity, bedrooms and bathrooms.
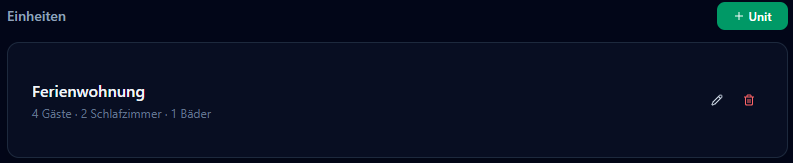
Once saved, the unit appears directly inside the property. This keeps rooms, apartments and accommodation units clearly structured.
Damage reports, feedback and concierge requests come together in one place. Your team can see what was reported, when it happened and which property it belongs to.

The digital setup ends deliberately in the physical world: download the QR code, add it to the HelloJonny display and place it where guests will immediately see it. No app download. No complicated onboarding.
You manage the content in the backend. Guests only see what matters: a QR code and a concierge that helps them throughout their stay.
Book a demo
Compare Starter, Pro and Business including services and limits, then choose the plan that fits your property.